Table of Contents
Website Builders: What They Are
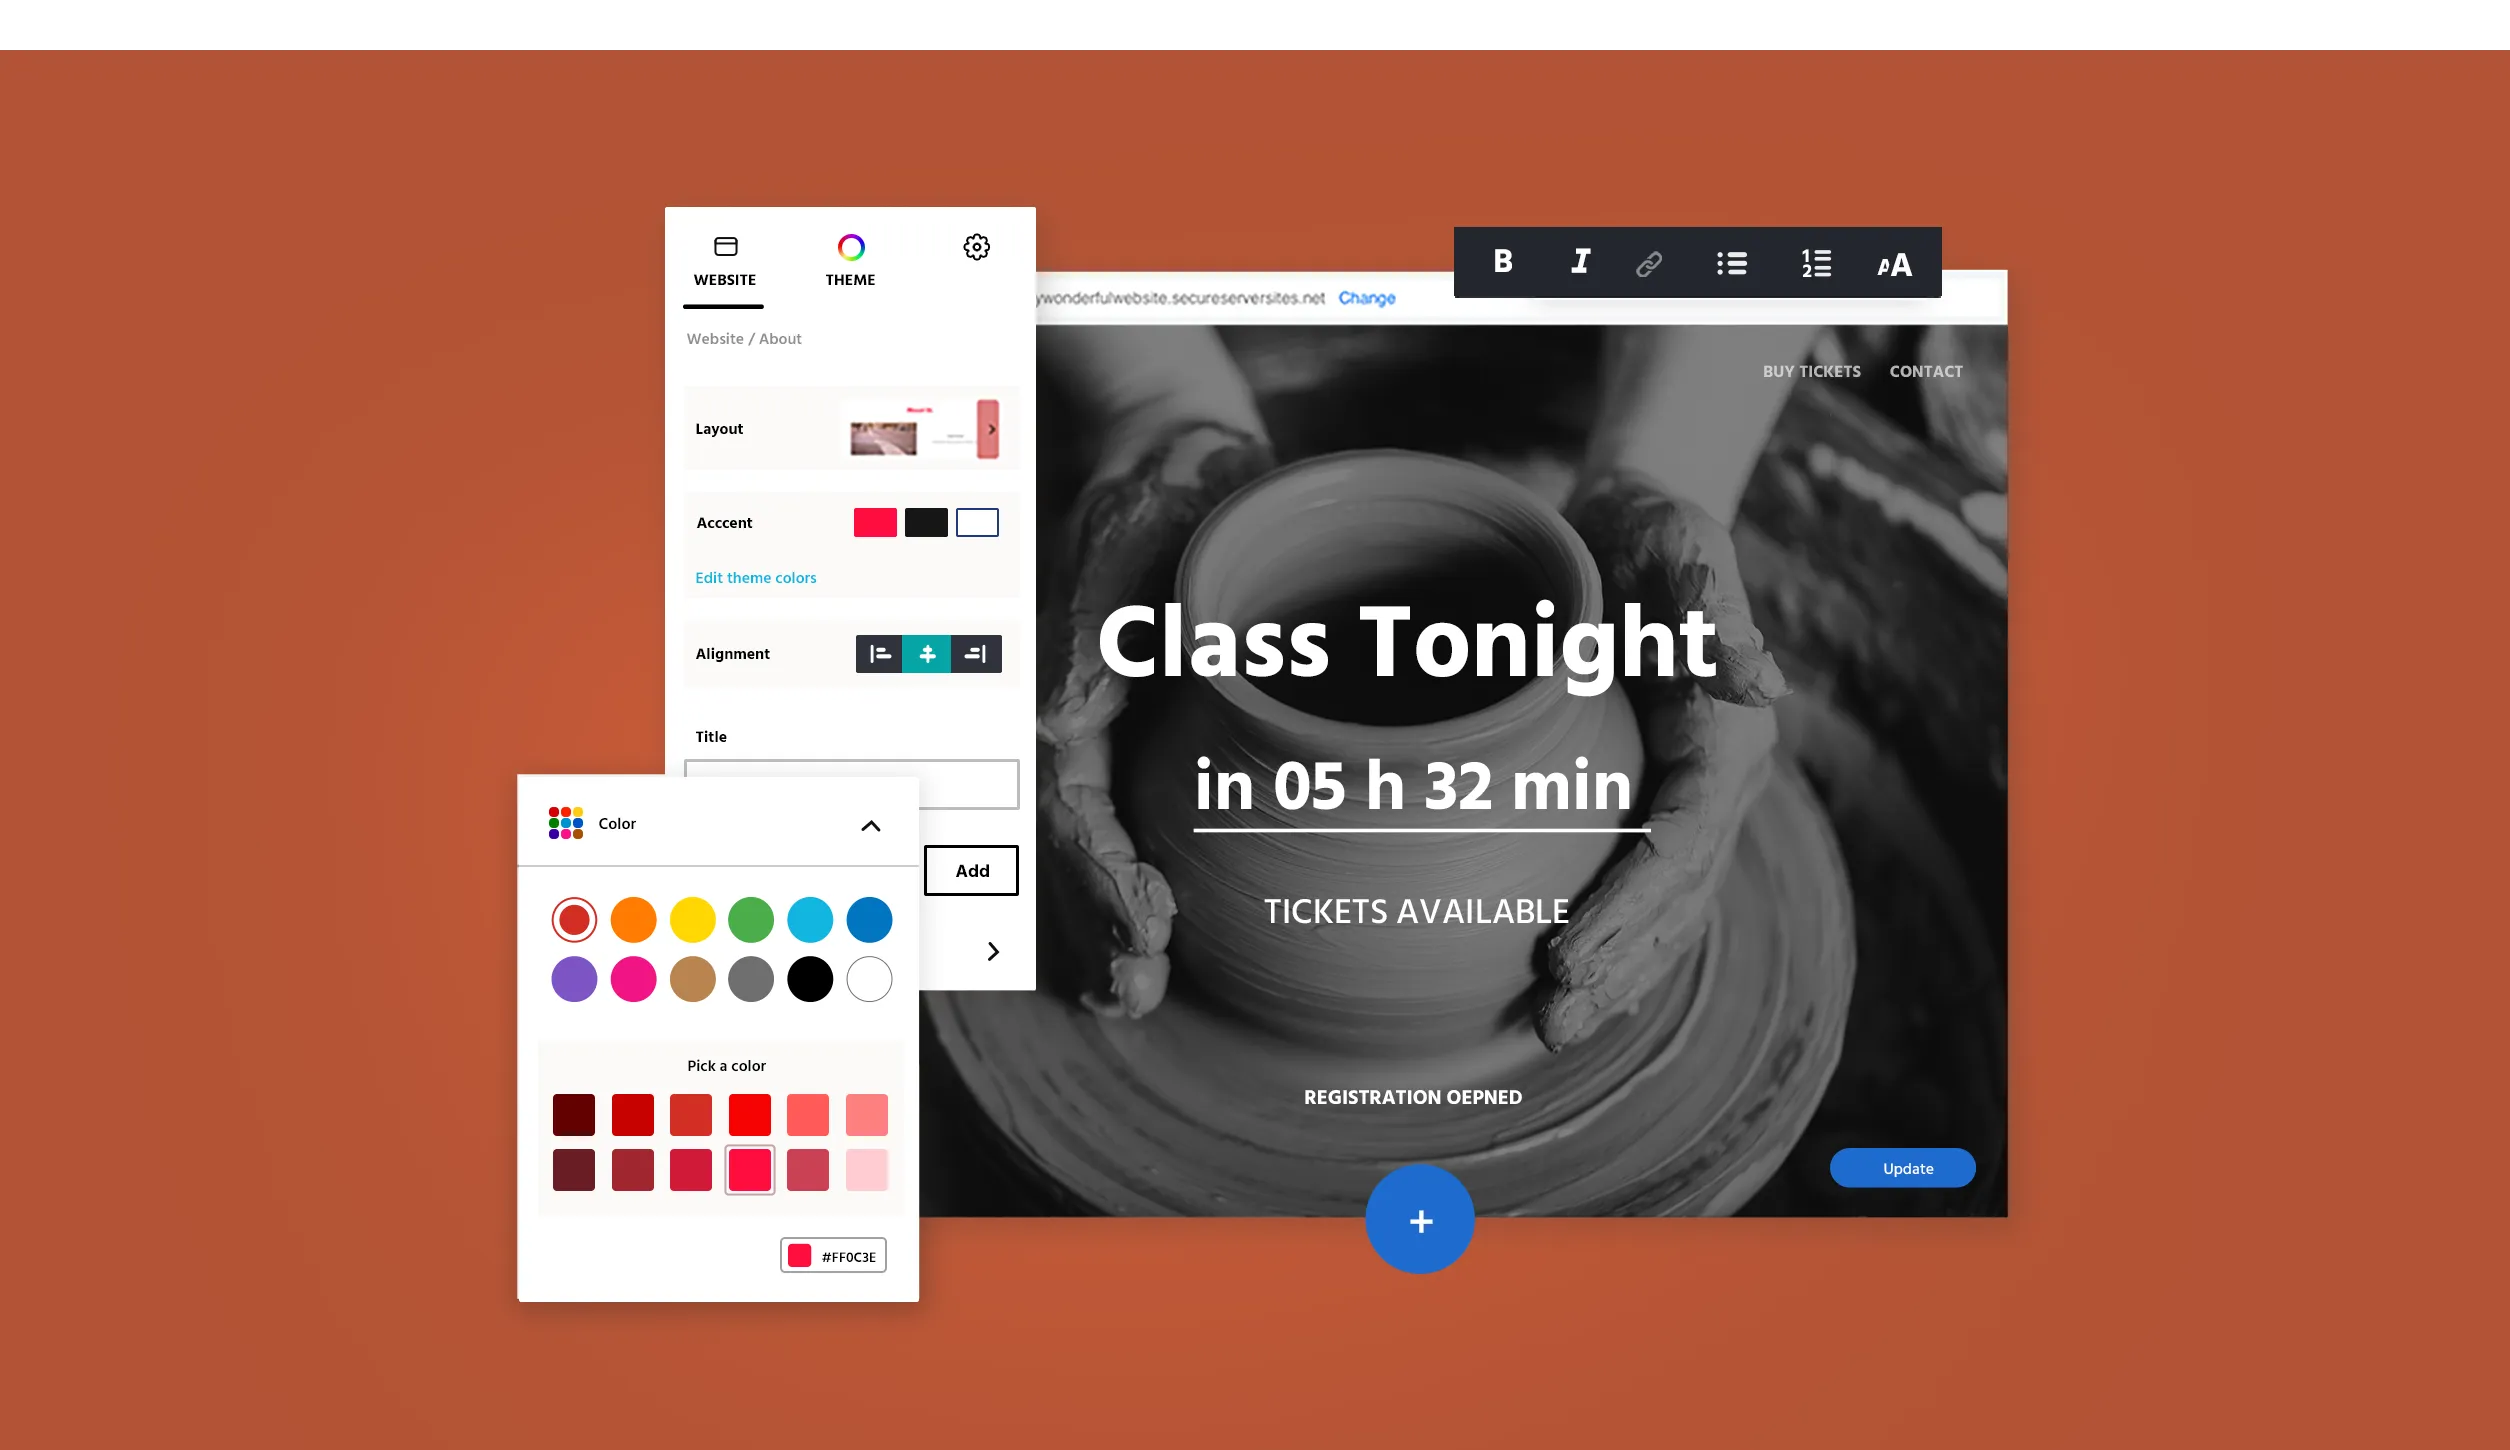
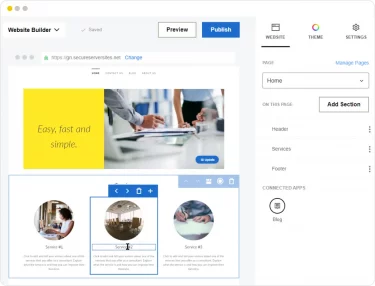
Basically, a website builder (like the one we provide) lets you build a website without having to write the code yourself.
It does this by providing premade templates that allow you to insert your own page layouts, backgrounds, color schemes, images, texts, etc. You can customize these templates to build your website exactly how you envision it. Of course, our website builder isn’t the only one.
All-Inclusive Website Builders
Nowadays, all-inclusive platforms such as GoDaddy, Wix, Joomla, SquareSpace, and Cheap-Domain Registration offer multiple services to provide custom service for their customers. They offer options for hosting, building, and providing support for your website.
https://www.cheap-domainregistration.com/cheap-website-builder/
https://www.hostgator.com/website-builder
https://www.namecheap.com/hosting/website-builder/
https://www.wix.com/upgrade/website
As you can see, Cheap-Domain Registration isn’t the cheapest website builder on the list. In fact, some are free. But we’re one of the top hosts around because of our dedication to excellent service and our refusal to price gouge.
We believe in honesty and transparency. That’s why our prices remain the lowest year-over-year, while others charge exorbitant hosting fees after the first year.
So, how do you know which host to use?
Choosing a Host
Choosing a host is one of the most important factors to consider when it comes to creating your website. Choose the wrong one, and you might not get the features you need (or you might end up spending more than you want).
Keys to a Great Host
- Scalability – A good host should offer multiple plans that grow with you as your website matures.
- Support – Good, professional support is needed when it comes to building a website (especially if you’re using WordPress). Phone support is the best, so they can walk you through the problem you’re facing.
- Security – Malware scans that search out threatening programs can save you and your customers from all sorts of trouble. Automated Backups help in case something does go wrong.
- Speed – In today’s distraction-filled world, speed is key. If your web pages take more than 2 seconds to load, your visitors are going elsewhere.
- Price – A good host will always be up-front with their pricing, and won’t trick you into paying more down the road.
- SEO – A good search engine optimizer can help you raise through the ranks of Google, getting your website seen and trafficked by more people.
Once you’ve decided on a host, you need to decide what website builder you want to use.
Choosing a Website Builder
For the purposes of this guide, we’ll say there are basically two website builders.
The first is the typical website builder that hosts like C-DR, Wix, and GoDaddy have, and the second are open-source website platforms, like WordPress.
In fact, WordPress is the most popular content management system (CMS) in the world, with more than a third of all websites being managed by it, including The New Yorker and The Walt Disney Company.
WordPress has unparalleled customization options and a bottomless depth of plugins. Essentially, if you have WordPress, you can make your website do anything.
But that doesn’t mean it’s always the best builder to use, hands down. In fact, choosing WordPress may be a big mistake for your website.
When to use WordPress – If you need to make an expansive site that utilizes many different plugins, then WordPress is the choice for you, as long as you have the know-how (or the money to pay someone who does). WordPress can get very complicated, and if you’re just creating a simple blog or website for a brick-and-mortar business, you probably don’t need it.
When to use a Website Builder – If you don’t need much from your website other than for it to look professional, or even if you want to build a simple online store, then the generic website builder is for you. It looks good, and certain plugins can let it perform tasks like social media integration and PayPal and credit card processing.
Now you know whether you want to use a website builder or WordPress, but did you know there’s a way to build a website without spending the money on a hosting plan?
Building a Website Without a Website Builder Hosting Plan
Many people don’t realize that you don’t need a website builder hosting plan in order to build a website. (Though you do need hosting and a control panel, like cPanel.) This is known as unmanaged hosting, and it might be the right option for some.
Unmanaged hosting is when you download a website builder (such as WordPress) through cPanel (or another type of control panel, like Plesk).
This option is cheaper, because you only pay for the cPanel plan. However, there are some serious drawbacks.
First of all, all performance and security responsibility now falls on the user. This means you have to have technical skill, or your website will load slowly and be at risk for malware. Also, if you want an SSL certificate (which is basically a requirement in this day and age), you’ll need to purchase one separately.
This could be the right option for those who expect very next to no traffic on their website, or those who own several websites and know exactly how to secure them and boost performance. (But not for the average website owner.)
Now, you could buy a cPanel plan and download a website builder, then purchase security and SSL certificates separately, but these end up being more expensive than a managed hosting plan. (Thus the benefits of a managed plan for the vast majority of users.)
Once you’ve decided on which route you’ll take for building your website, let’s take a look at how to build it.
Building Your Website
(Note: While this guide is mostly designed for WordPress, many website builders, including our own, will function similarly.)
First, you’ll want to download WordPress >>links to WordPress Page or another Website Builder >>links to Website Builder Page from your website host.
Once it’s installed on your website, the first thing you’ll want to do is to become familiar with the Dashboard. Spend a few minutes exploring.
Next, it’s time to pick a theme.
Theme: Essentially a group of files that produce a cohesive look and feel for your website across all pages. Themes can include overall page design, fonts, colors, template (page layouts), and other stylistic details.
Which theme you pick will depend on your site’s overall purpose. Is it a blog? E-commerce? Or is it for your small business?
Once you’ve picked the theme that feels right for you, you’re ready to install it. Just click the “Install” button, followed by “Activate.”
How does it look? Don’t be afraid to go back and change it to another theme. Even if you’ve written content, it won’t be lost. It will just change to fit the new theme.
If you’re happy with your theme, it’s time to move on.
How to Add New Pages and Content
Now that you’ve picked a theme, you might decide that your website needs more pages.
Adding a New Page: In the Dashboard sidebar you will see a “Pages” section. Below that, click the button that says “Add New.”
A screen come up that allows you to add a page. You can add text, videos, images, and more. Most people like to add an “About Us” page, so you can go ahead and write that content now if you’d like.
Once you’re happy with the content, go to the right menu bar and click “Save Draft.”
Now, clicking “Preview” will show you what the page will look like once it’s published to the website.
When you’re ready, click “Publish.”
But you’re not done yet. If this is a permanent page for your website, you want your visitors to be able to find it, right? So far, there’s no way to get to it from your website’s homepage.
How to Add a Blog Post
No matter what type of website you own, you’re most likely going to want a blog. It keeps your audience engaged and it helps with SEO.
Creating a Blog Post: On the Dashboard sidebar, hover over “Post” with your mouse. Click on “Add New.”
You’ll see the same text editor as when you added the new page. Just write your content and give it a title up top.
It’s best to organize your blog posts into categories early. You’ll find the “Categories” section in the right-hand column of the main WordPress Dashboard.
Once you’re finished, click “Publish.”
Congratulations on your post, and on creating your first website! You’re all done.
That is, unless you plan on selling products on your website.
Shopping Cart
Many domain hosts have a Quick Shopping Cart add-on that can be added to your website. (We’re no exception.)
With it, you’ll be able to add Product Catalogs to your website, as well as take payment from all major credit cards, PayPal, and Apple Pay.
You’ll set up your Shopping Cart / Checkout Pages just like you would with any other page (instructions above). You also get a convenient solution for order processing and tracking, as well as a comprehensive inventory management system.
When creating your shopping cart and checkout pages, they should be as streamlined as possible. Adding unnecessary steps, like mandatory Account Creation or extra sales pages, is a bad idea. The more friction there is during the checkout process, the more likely a customer is to bail. That’s why there’s nearly a 70% Cart Abandonment rate on commerce websites.


